|
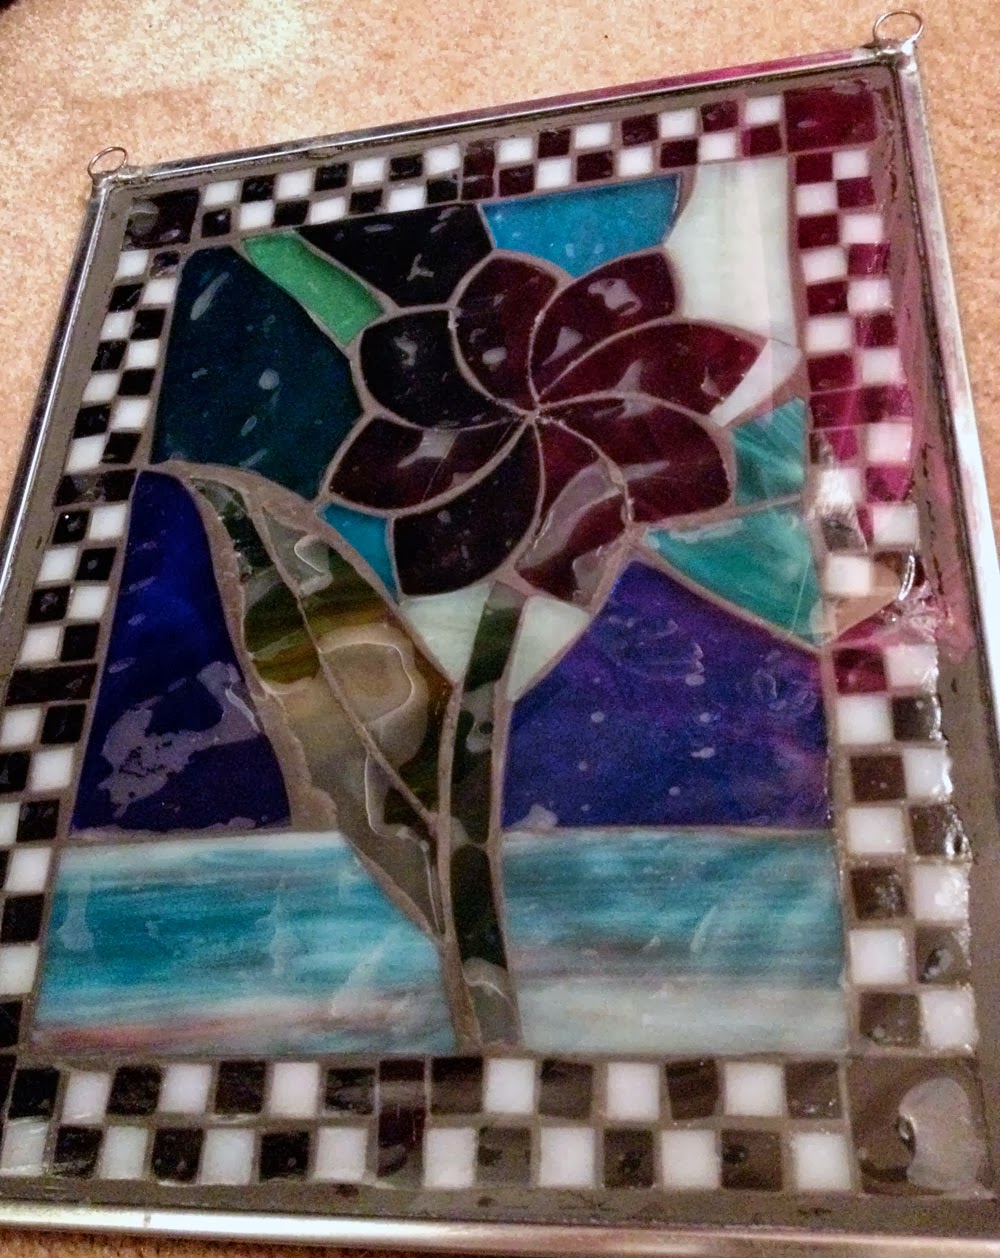
Assorted tiles on No Days Mosaic Mesh:
thick dichroic on ceramic tiles, clay tile, thick glass tile,
smalti & fused glass |
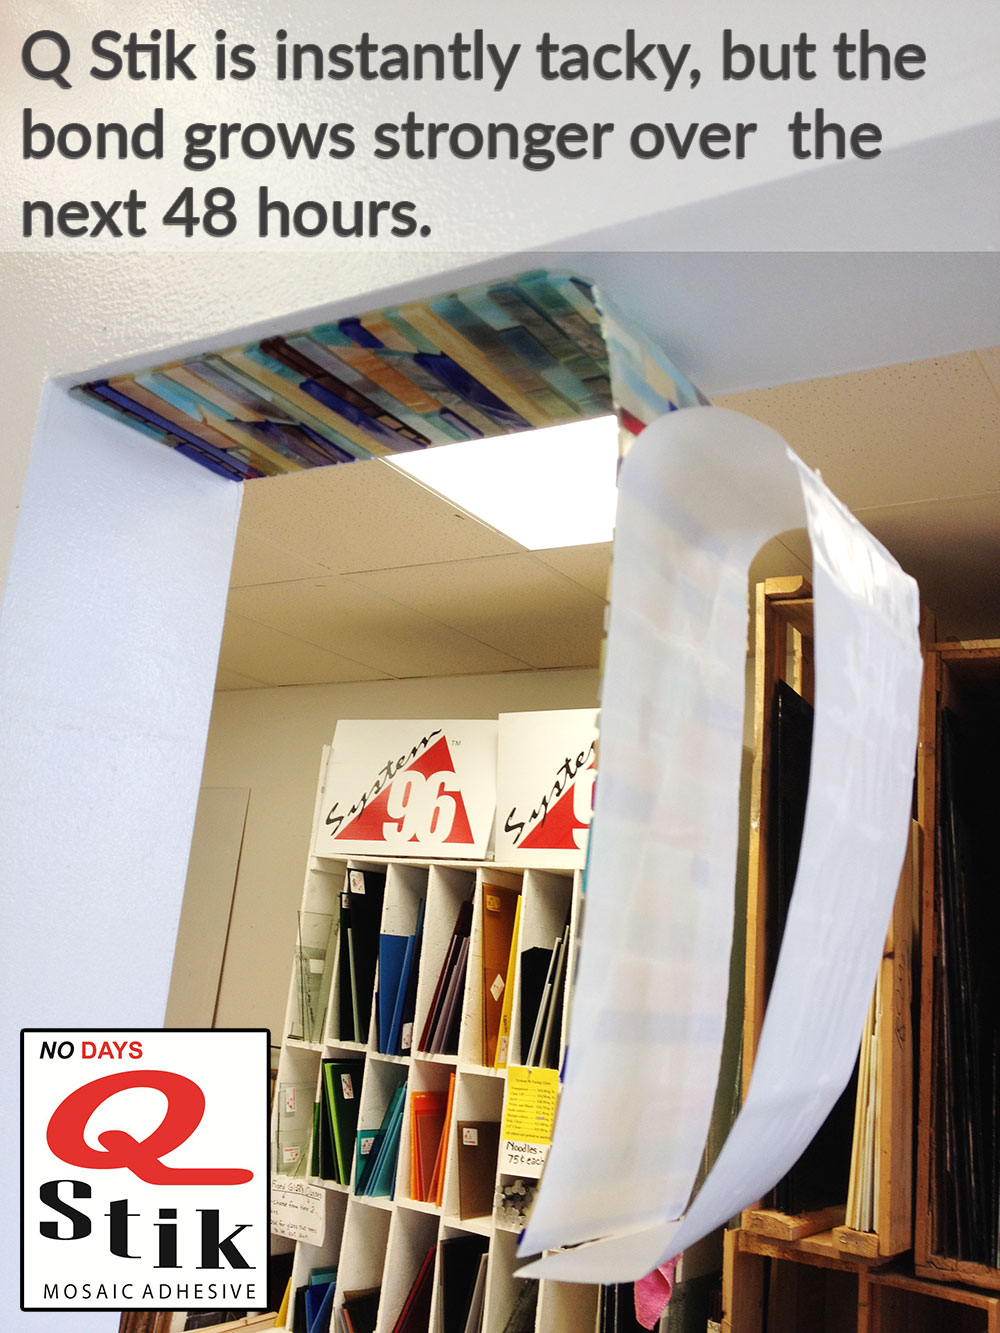
No Days Mosaic Mesh is a fiberglass mesh with No Days Mosaic Adhesive embedded in it. So, instead of using white glue (which can be messy) or thinset or mortar (which can be messy and take time to mix up in small batches), you can place your tiles on top of the mesh and heat set them in place before final installation with a cement product.
The No Days Mosaic Adhesive will stick to everything
but silicone. So, it comes packaged with a silicone coated paper to be used as a release liner. If you don't heat set your tiles on the mesh on top of the silicone release liner, then the mesh will stick to whatever surface is lying under it!
 |
Assorted tiles on No Days Mosaic Mesh:
glass tiles, sea shell & smalti |
Once your tiles are in place, you can use a standard heat gun, curing station, embossing heat tool, oven, electric skillet, or toaster oven to heat the adhesive to activate it. Using an oven can be a huge time saver, because it frees up your hands to continue working on more sections of the mosaic instead of holding a heat gun. The No Days Adhesive is non-toxic and will not contaminate your oven when used properly.
 |
Assorted tiles on No Days Mosaic Mesh:
thick and thin glass tile, stone & dichroic glass |
To use an oven, find a cookie sheet and line it with the release
liner from the NO Days Mosaic Mesh packaging. The liner should be
slightly larger than the mesh mosaic you are building. Then, lay down a
section of No Days Mosaic Mesh and cover it with your tiles. When you're
ready to heat set the adhesive, put the cookie sheet in the oven and
set the oven to 180º-200ºF (80º-90ºC). Leave your mosaic in the oven for
approximately 10 minutes. After 10 minutes, remove the cookie sheet and
use tweezers or a skewer to move pieces into place if they are not
exactly where they should be. You will have about a minute to move your
tiles around before the adhesive begins to cool and cure. If you need
more time, then reheat the mosaic. (NOTE: If you continue to move the
tiles when the adhesive begins to cool and cure, then your bond will
become weak. Reheat the pieces to reactivate the adhesive if you need
more time.)
If you haven't tried using No Days Mosaic Mesh, it's recommended to try
building a small section (~6" or 12") to get used to the way it works.
After you heat set the piece and pull it out of the oven, let it cool
down. Shake the mesh a bit and if the pieces are falling off,
then the try to heat again.
Some things to keep in mind:
- Thicker
tiles can take a bit longer to heat. Experiment to see how long you
need to heat your tiles. The adhesive activates at 160ºF (70ºC), which
is too hot to touch. You should not be able to comfortably touch tiles
that are hot enough to activate the adhesive.
- No Days Adhesives do not stick to silicon. If your tiles had any kind of
silicon adhesive covering the back of them, they will not stick to the mesh
because our adhesive won't stick to silicon.
- If you have any problems, please contact info@streuter.com so we can help you sort them out!